Nothing is pre-planned with us. We don't decide to just clean out the garage when the temperature is 102 degrees for 3 days. It just happens. It just happened, one project was done, so Frank had some time available, so this is what happened. I forgot to take a photo of how horrible the garage looked in the very beginning, but I guess everyone has a messy, horrible garage.

I have classes throughout the year and sometimes I have them inside the house, such as knitting, crocheting, cooking, rug making, things like that. My husband and daughter said to me, why don't I just fix up the garage and have the classes out there? Lots of room, gosh knows we never use it for A CAR!!! Can make lots of messes in there, etc. etc. Not a bad idea.
Well, I did need to go through stuff anyways, so I decided to just take a few days and CLEAN OUT THE GARAGE. Mr. Make "anything", suggested he re-wire the garage so I have enough plugs, extra lighting and he wanted to re-do the wiring anyways, he didn't like how it was done. As Frank re-wired, I started moving everything to the center of the room so he could get around the room. That is what he suggested.

After I half way started going through stuff, Mr. Build "anything", said, "Why don't we just buy a few sheets of some wall covering and we could at least close up a couple walls of the bare 2/x/4 construction." Off to Lowe's we went and we found some really nice, real wood T&G wall boards. Mr. Build "anything" said to do 2 of the side walls, we would need 10 sheets. Yes, it was 94 degrees that day, us seniors loaded up 10- 4' x 8' sheets into a cart, paid for it and then loaded it into our truck and then when we got home, unloaded it. We nearly killed ourselves.

Frank said he needed more room to be able to put the boards up. Once again, I moved the STUFF that was in the center of the room, outside in front of the garage and near the patio. It was like a floodgate of items, all except the Christmas decorations up in the rafters; the freezer; my old 1820's cabinet I have never been able to part with mainly because it is so heavy, you can't move it. Oh and 4 metal shelves that had paint, metal, spray cans; the list goes on and on of items (and possibly rats or mice) lurking in and around them.
With my neck and back killing me, Frank lovingly installed the new boards-up to the metal racks. Stating, the metal shelving has to go in order for him to complete his task.

This was very liberating though, I have to say. 10 years worth of garage items that needed to be inspected and decided what to do with them. And 10 years worth of various paint cans. That actually was very interesting because out of 28 gallon cans, I was able to take the paint codes off the tops, and about 20 cans were dried up to nothing-ness to be taken to the recycling place. Of the 8 cans left, 2 were new Venetian plaster I had originally purchased to do the hall bath; 3 I use all the time as they are the baseboard, trim in the house; 2 are outside house paint we recently purchased to touch up some outside areas of the house and 1 can is the paint that matches 4 rooms in the house-which I need to have matched because the paint code is worn off on the lid. Is this all boring to you?

The 2 walls are done and my yard looks like I am going to have a sale. (Frank knows how to work me, if he says the whole project at once, I would probably say no we can't afford it, can't do it.)
Mr. Build "anything" says, you know for only 7 more sheets you can have your whole garage done, all the walls covered in nice T&G panels. Off we go back to Lowe's, same routine, load, unload, load, unload. Now there isn't anything along the walls, the metal racks are empty and moved outside. That day it was 98 degrees and I had 2 fans going in the garage while we both had soaking wet teeshirts on.

I asked the stupid question, after all the walls were finished, "Don't they need to be painted?" Since Frank did all this wiring and panels for me, I am actually the official painter in the family, and I could at least paint. Which I did, 1 whole 90 degree day. But I was smart, I found a 5 gallon full of a nice mint green paint which I have absolutely no idea where it came from, but it turned out to be great paint and I had enough.
Mr. Build "anything" says, "what are you going to do with all this stuff now that all those metal racks are moved out? (GOOD QUESTION) I could build you some nice wooden shelving and make them any size you want and have the outside covered with cabinet doors. All I would need is 2 more sheets of the T&G boards and a couple 2x4s". Another day, off we go back to Lowe's, load, unload, then unload into his shop to cut them up into wooden cabinets with doors. We have officially purchased 19 sheets of T&G wooden and very heavy sheets.
Yesterday, Frank built me the shelves and I started putting things away. This time, I am planning on being organized. Spray paints in tubs; cleaning supplies in tubs; small Chalk Paint supplies in tubs, etc. etc. Even my new canning jars in their boxes had 2 shelves.
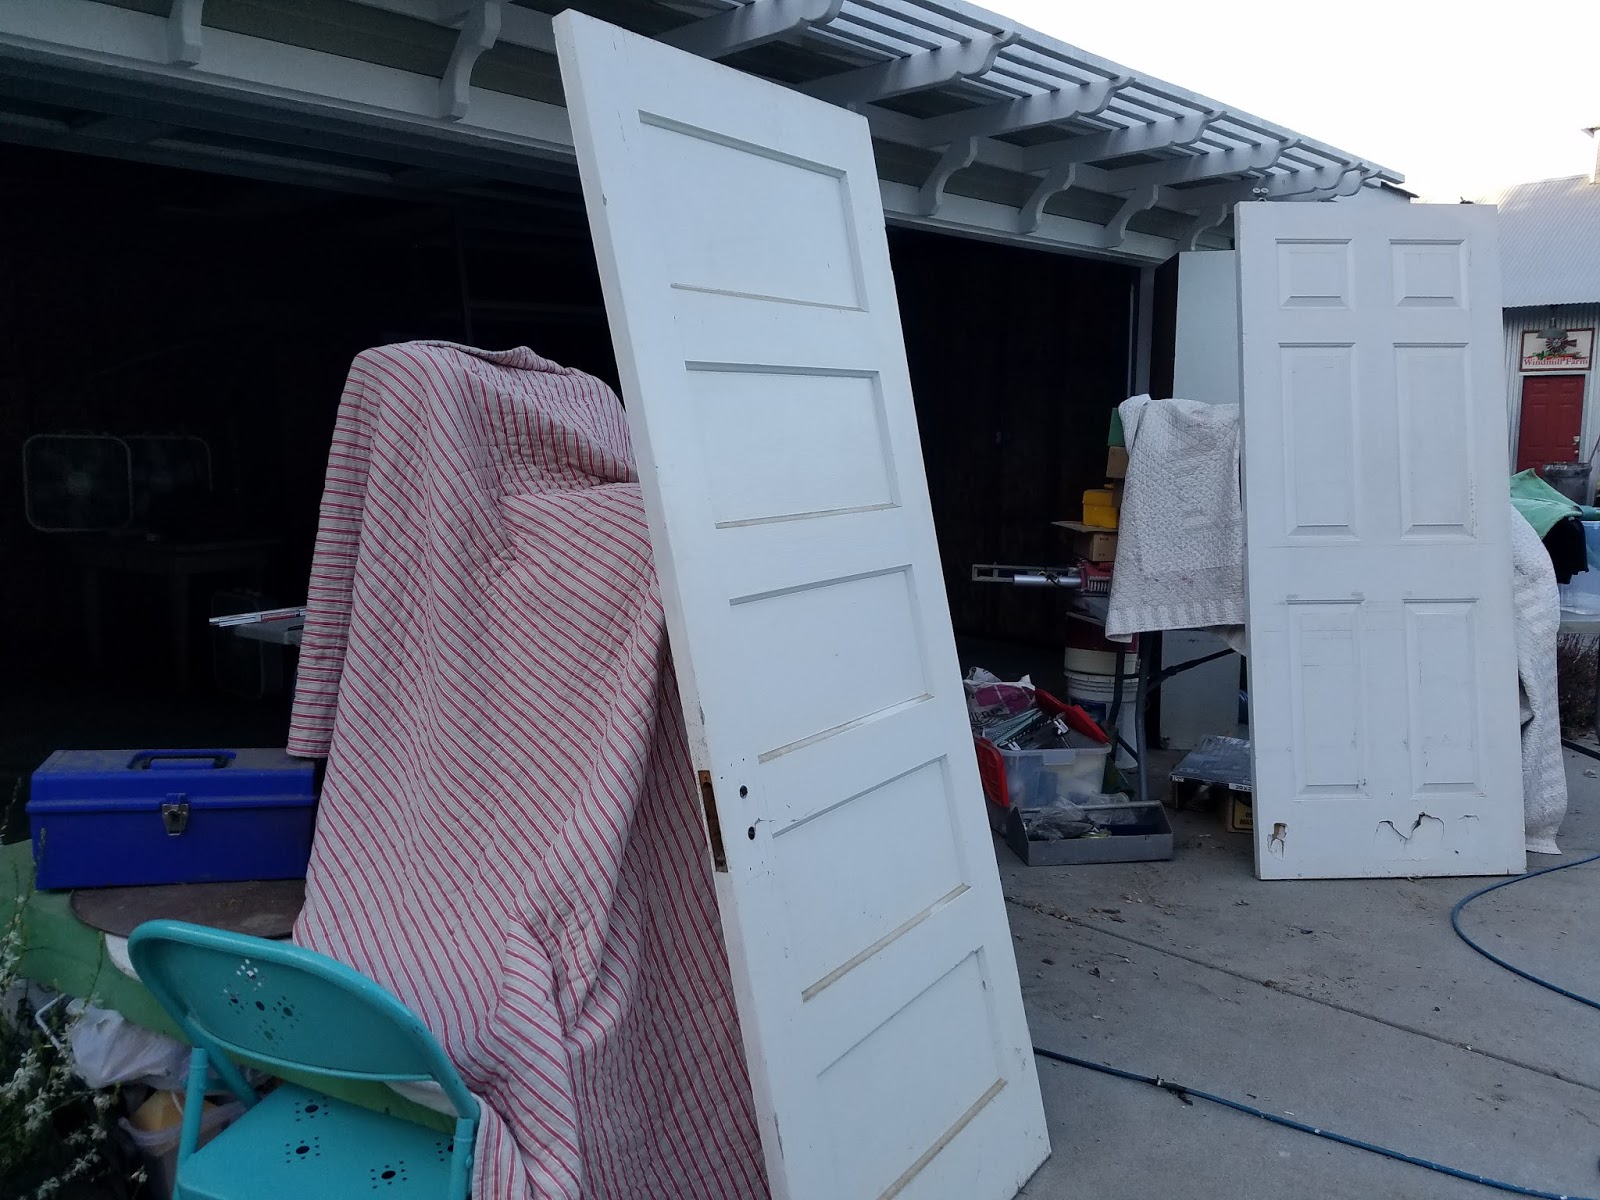
But what about all this stuff still outside??? My upholstery supplies; the wing back chair I am planning on upholstering; doors; chairs; old drawer pulls, dog leases, need I go on? All I did was put away the stuff on one shelf that had previously been on the metal racks?
Stay tuned for part 2-putting it all away-where is it going to go?