

I heard about these Dryer Balls some time ago, but never got around to finding more about them. Recently, I had to purchase some fabric softener and couldn't believe how much the price had gone up since the last time I purchased it. So I decided to make these dryer balls. And besides, if a project has to do with yarns, I am willing to try it.
In case you don't know about them, they take the place of dryer sheets or liquid fabric softeners in your dryer. Simple, you throw them in with your wet cloths, in your dryer, shut the door and turn it on. They can be used over and over again, I have heard over 1000 times.
Here are some of the pros about using the dryer balls:⇾Economical-reduces waste, reusable
⇾Environmental-no harmful chemicals or perfumes
⇾Savings-It has been stated it reduces dryer time by 25%-the more balls you place in the dryer, the faster the cloths dry
⇾Softens clothes, reduces static, decreases wrinkles
I have seen these dryer balls for sale from $2 each up to $8 each for the Alpaca ones. But you can make them much cheaper.

Purchase wool yarn. Any size skeins, any size yarns.
What I do is look for yarns on sale via craft stores such as Joann's, Michael's. Or look for yarns at thrift stores or yard sales. They have to be 100% wool, no synthetics.
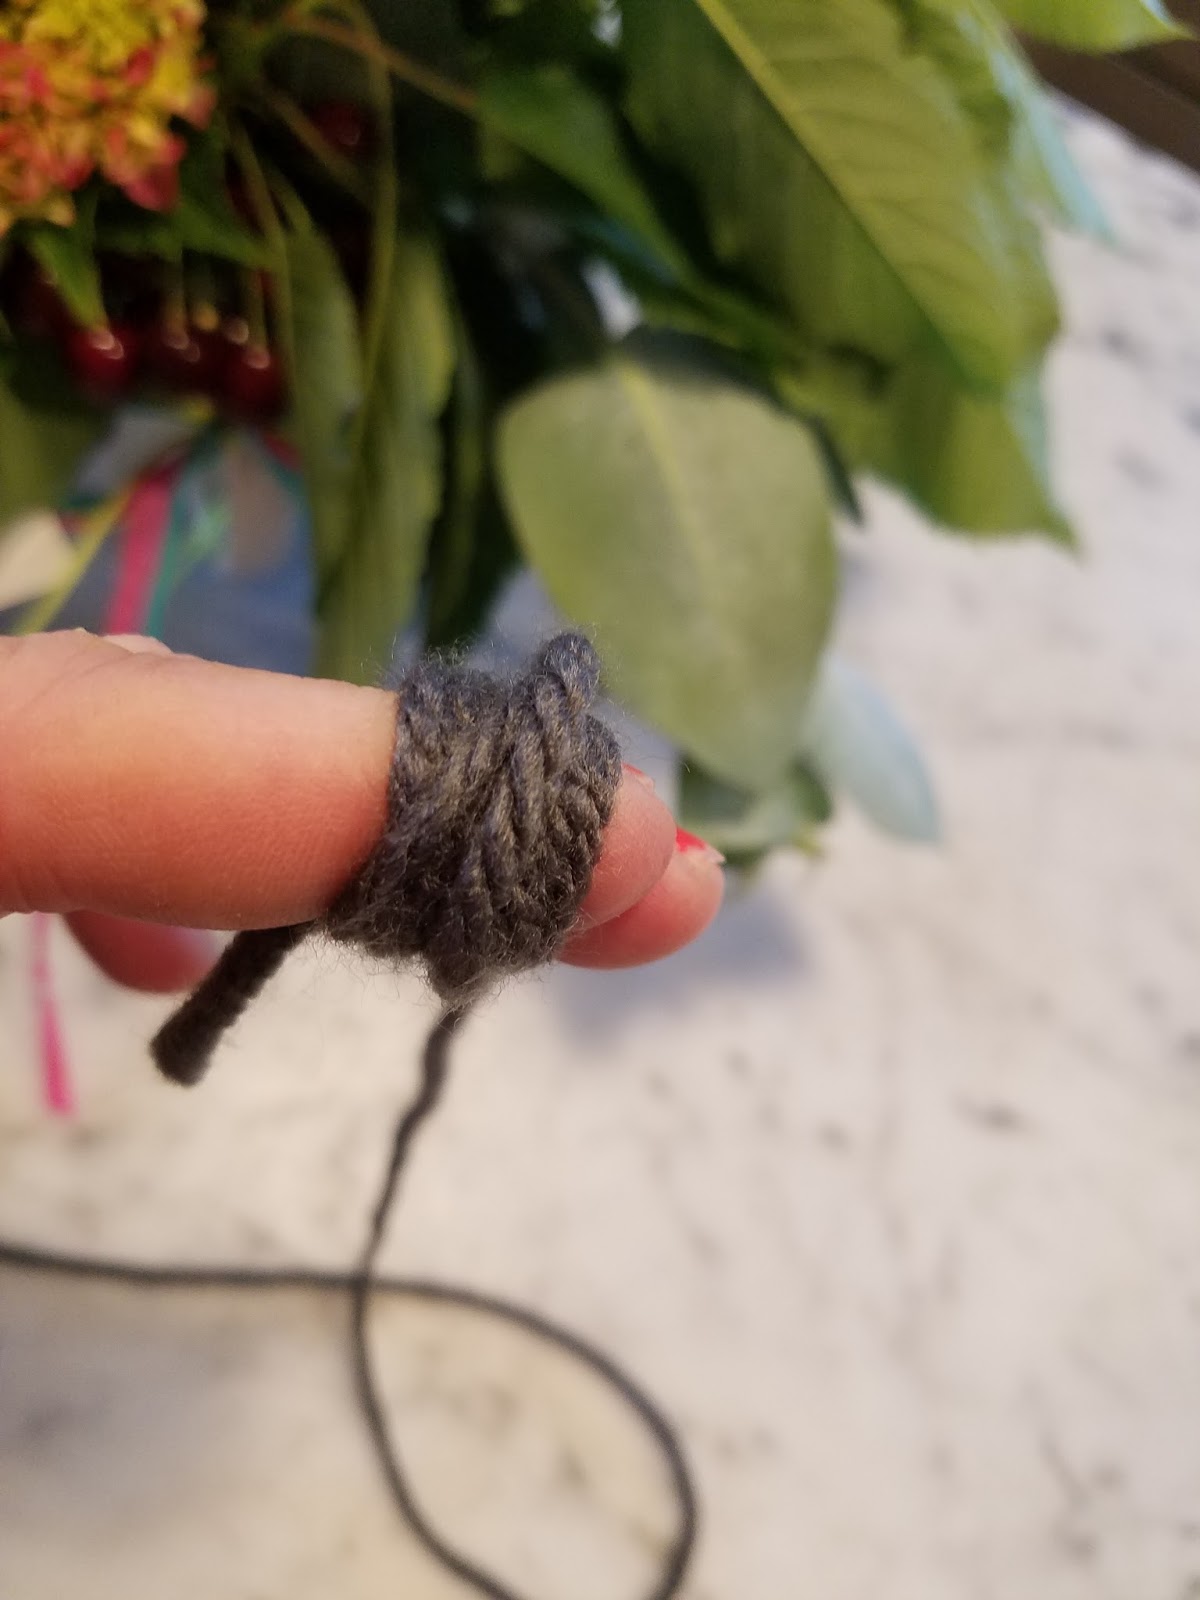
1. Start winding your yarn around 2 fingers of your hand about 10 times, pull them off your fingers, turn the wound group, and wind around it another 10+ times; turn those strands and you are starting the center of your dryer ball.


Out of one 450 yard skein, I got 3 balls. On another skein I found on sale, less yardage, I got one ball and started another one and got about 1/2 way the size I needed, so started another skein, different color right on top of it and finished it. Doesn't matter.
2. When about 4" to 5" around or even larger, stop and tuck under the end very well inside so it doesn't hang out.

3. Cover the yarn balls with your nylon hose. You can use knee highs or one leg of a panty hose. (Do you remember those days of panty hose?) If you don't have any, buy the cheapest you can find or raid your Mother's drawer, I bet she still has some.

4. Between each yarn ball inside the nylon stocking, tie a knot of cotton thread. Don't use the wool because when you wash it, it also will felt.

5. Wash these balls with the hottest water in your washer along with dish towels or towels or Levi's. On my washing unit, in order for the machine to allow me to use the hottest level, it had to be on "Sanitary" cycle. I washed them twice. You use soap in the wash.


Because there is no scent, you can use oils like lavender or citrus scents on the balls if you wish to have your laundry have a smell.
Another option is to use these dryer balls for certain laundry loads that you don't care about the smell, and go back to using your softener sheets or liquid softener to the loads that you do wish to have scented.
I hope you found this DIY blog helpful and interesting enough to try the dryer balls yourself!!

1 comment:
What a great tutorial! I've been wanting to make wool dryer balls for years after seeing them in an organic product store. Thanks, Paula!
Post a Comment